


Transferring photos from your iPhone to a PC allows you to back up, organize, and share your precious memories on a larger screen. In this step-by-step guide, we will explore various methods to transfer photos from iPhone to PC effortlessly. Whether you prefer using a USB cable, cloud storage, or third-party apps, we’ve got you covered.
Transfer photos from iPhone to PC using USB Cable
1. Connect your iPhone to your PC using the USB cable.
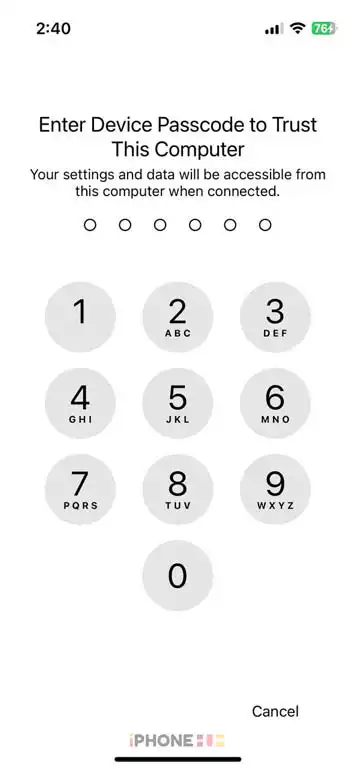
2. Unlock your iPhone and, if prompted, trust the computer. After that enter your iPhone’s password to trust this computer.

3. On your PC, open the File Explorer (Windows) or Finder (Mac).
4. Look for your iPhone under “This PC” (Windows) or “Devices” (Mac).
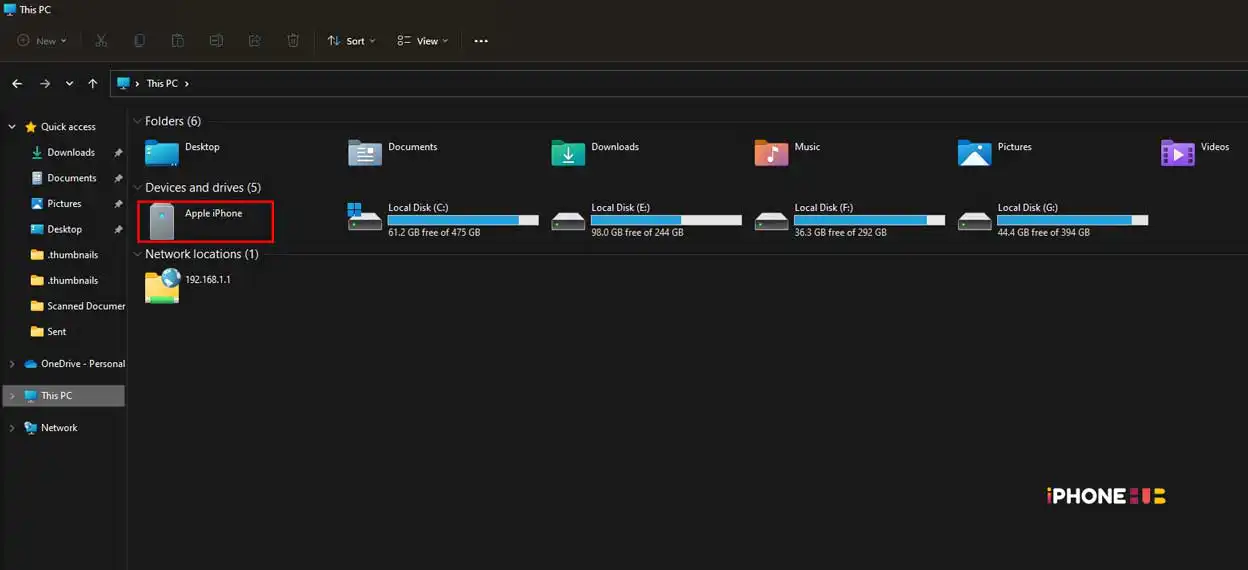
5.Open the iPhone device and navigate to the “DCIM” folder.
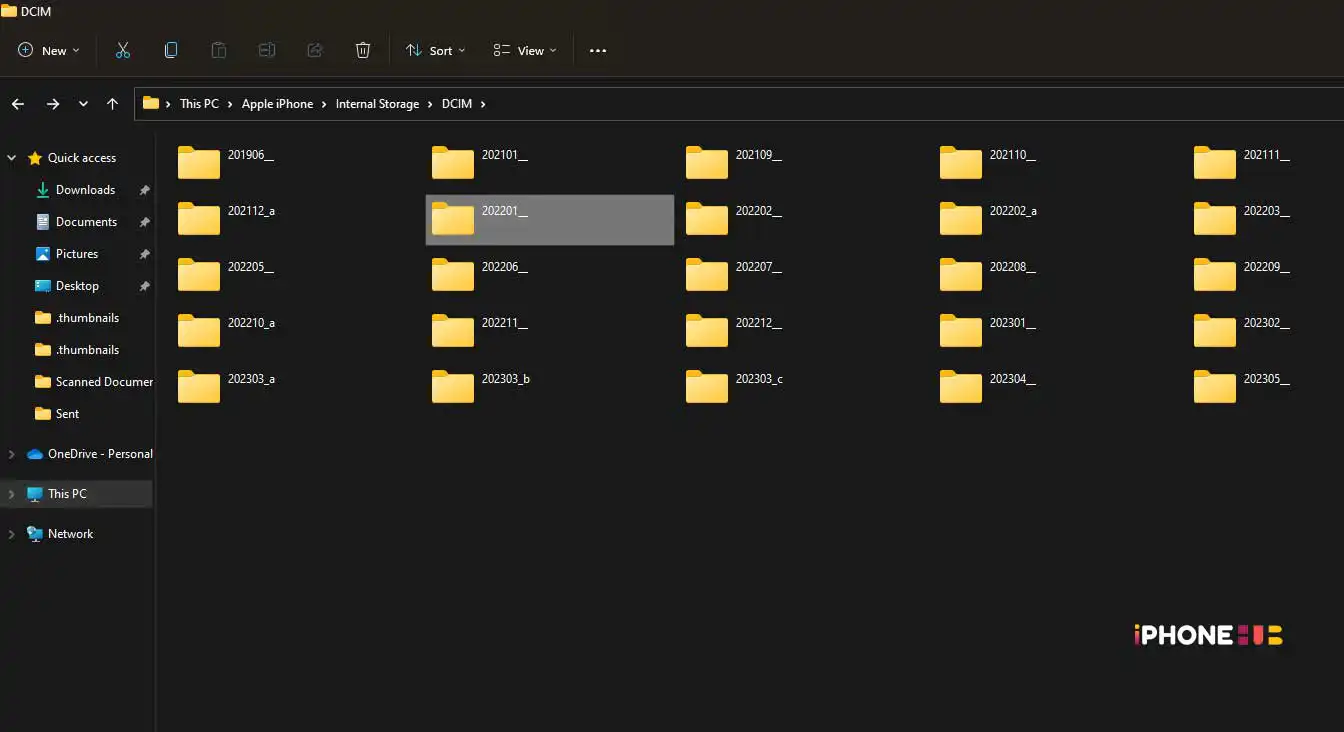
6. Inside the “DCIM” folder, locate the folder containing your photos.
7. Select the photos you want to transfer and copy them to a location on your PC.
Related | How to Back Up iPhone on Mac [Step by Step Guide]
Transfer photos from iPhone using iCloud Photos (For Windows)
- On your iPhone, go to Settings > [Your Name] > iCloud > Photos.
- Enable “iCloud Photos” on your iPhone.
- On your PC, download and install the iCloud for Windows application from the Apple website.
- Sign in to the iCloud for Windows app using your Apple ID.
- Enable the “Photos” option and choose “Options” to specify the photo settings you prefer.
- Click “Apply” to save the changes.
- Open the File Explorer and locate “iCloud Photos” under “Favorites.”
- Open the iCloud Photos folder and find your photos. Copy them to a location on your PC.
Transfer photos from iPhone using Email or Messaging Apps
- Open the Photos app on your iPhone and select the photos you wish to transfer.
- Tap the Share button and choose the Mail or Messages app.
- Compose a new email or message and send it to yourself.
- On your PC, open your email or messaging app, find the email or message, and download the attached photos.
Transfer photos from iPhone using Third-Party Apps
- Install a third-party app like Google Photos or Dropbox on your iPhone and sign in.
- Upload the photos from your iPhone to the cloud storage provided by the app.
- Install the corresponding app on your PC and sign in using the same account.
- Download the photos from the cloud storage to your PC.
Related | How to Change Airdrop Name on iPhone and iPad
Transferring photos from your iPhone to a PC is an essential task for managing and preserving your memories. By following the step-by-step guide above, you can easily transfer photos using a USB cable, iCloud Photos, email or messaging apps, or third-party apps. Choose the method that suits your preferences and enjoy the flexibility of accessing and organizing your photos on a larger screen. With these simple techniques, you can safeguard your cherished moments and unleash your creativity with ease. If you have any problem do tell us via comments below.