


Apple is quite good at syncing data between your iPhone, iPad, and other Apple devices, but it can also lead to unwanted data being transferred to both devices. For instance, enabling sync will sync all photos you or your family members have taken to both devices, which can consume a lot of storage space. This can also compromise your privacy, as all synced data will be visible to every device linked to your Apple ID.
In addition, syncing data can cause your messages to appear on the iPad. The phone calls are also ringing on your iPad. Your iPhone may run out of storage space while syncing data. To avoid this problem, it’s important to save data separately on your device.
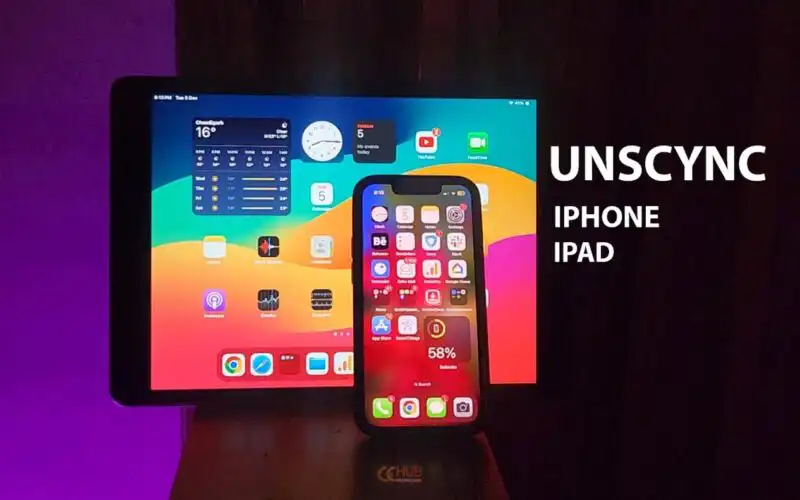
If you’re looking to unsync your iPhone from your iPad, there are several methods you can use. In this article, we’ll walk you through each method step-by-step so you can choose the one that works best for your situation.
Different Methods to unsync iPhone from iPad
Turn off iCloud Syncing Apps
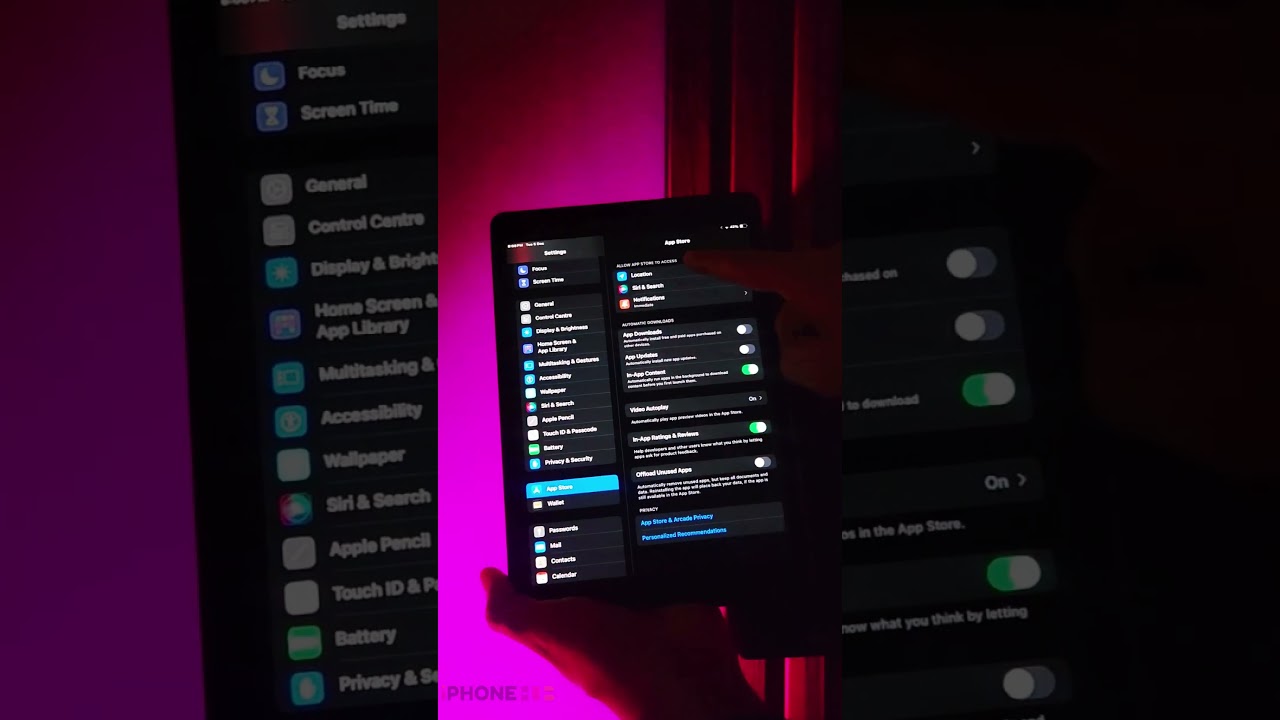
If you did not want to sign out of your Apple ID, then one of the easiest ways to unsync your iPhone from your iPad is to turn off iCloud syncing. This method allows you to choose which apps to unsync, so you can keep some data synced between your devices while unsyncing others, like photos, messages, contacts, etc.
Follow the steps below to unsync iCloud services
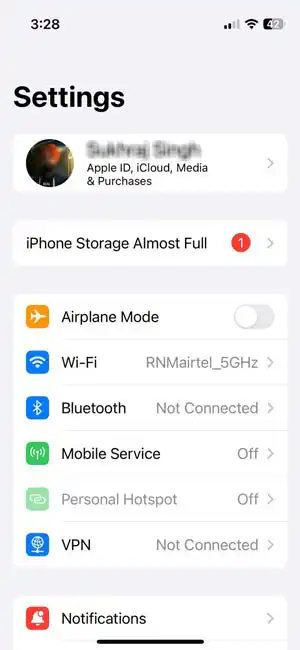
- Open your iPhone’s Settings.
- Tap on your name, after that find iCloud and tap on it.
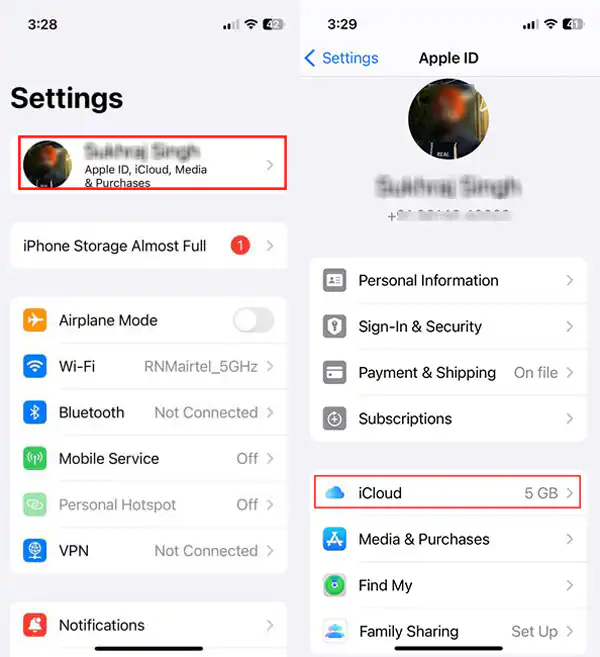
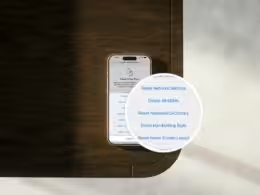
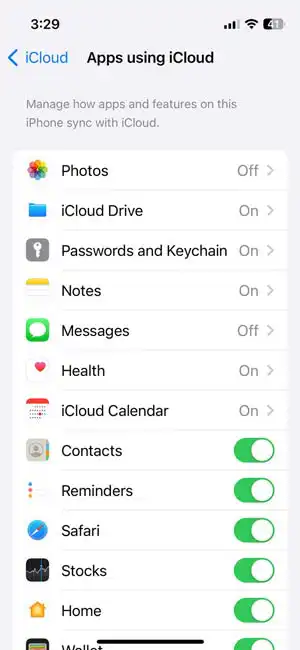
- Now you will see 3–4 iCloud services, and below them there is a “Show All” option, Tap on it to see all the services that are syncing data.

- Turn off the toggles for apps whose data you don’t want to sync to other devices.
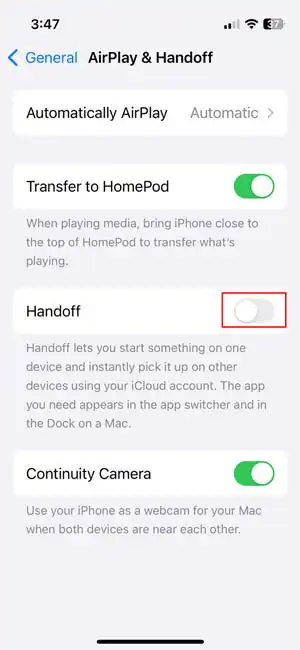
Turn off Handoff
Handoff is a very useful feature with which you can start a task on one Apple device and continue on another. If you want to unsync this kind of connectivity on your iPhone, iPad, or any other Apple device, then you can turn off the Handoff feature.
Steps to Turn off Handoff
- Open your iPhone Settings.
- Now find General and tap on it. After that, tap on “Airplay & Handoff.”
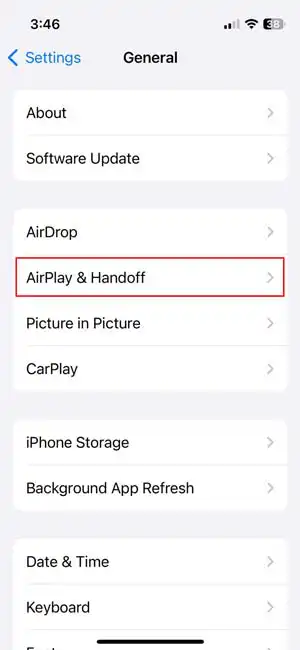
- Turn off the toggle next to Handoff.
Prevent calls Ringing on iPad
It becomes a headache when both your iPhone and iPad start ringing at the same time. If you want to stop calls ringing on your iPad, then follow the steps below.
- Open the settings on iPhone
- Find the phone app in the settings and tap on it.
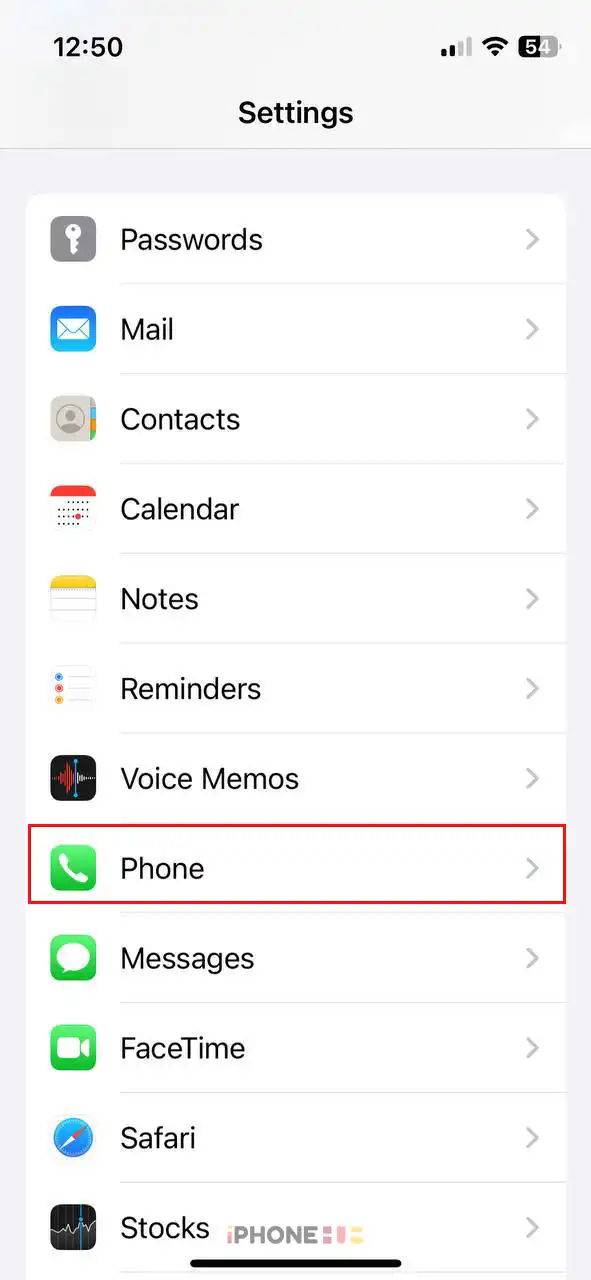
- In Calls section, tap on “Calls on Other Devices.“
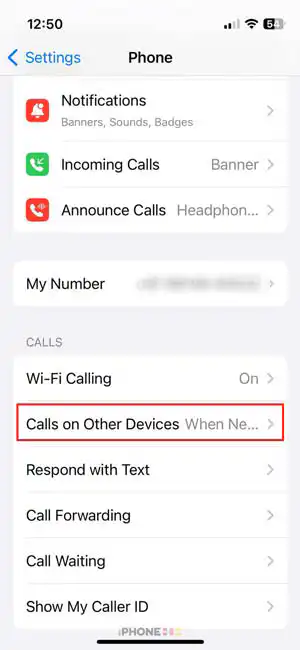
- Now you will see all your devices listed under the” Allow Calls On” section.
- To stop calls on your iPad, just turn off the toggle next to your iPad.

Prevent messages appearing on iPad
These days, we receive many login codes for our banks, our accounts on social networks, etc. through SMS. So if you are getting messages on your other devices, like your iPad, then you should stop them to be secure.
Steps to stop messages appearing on an iPad.
- Open the settings on your iPad.
- Now find the Messages app and tap on it.
- After that, you will see iMessage, to stop messages on iPad, turn off the toggle next to iMessage option.
Related | How to Delete Contacts on iPhone
Disconnect Apple ID to Unscync iPhone and iPad
If you want to sell your iPhone or iPad, then you must unscync your phone from the other devices by disconnecting your Apple ID.
Follow the steps to disconnect Apple ID
- Open the settings on your iPhone or iPad.
- Tap on your name, scroll down to the sign-out option, and tap on it.
- After that, you might be asked to enter the password for your Apple ID. Now you will be asked if you want to keep the data , if yes then select the data and tap Sign Out.
- That’s it your Apple ID is now successfully sign out from the device.
If you’re having any trouble unscyncing the iPhone from the iPad, then do tell us via the comments below. For more guides, stay connected with us.