


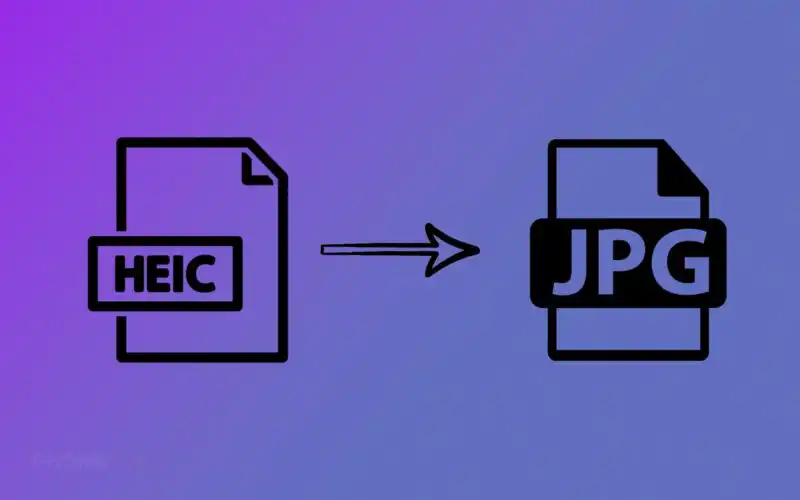
Apple has introduced HEIC which stands for High Efficiency Image Format in iOS 11 that was launched back in 2017. It was designed to offer better compression without compromising on the quality of the image. The HEIC has smaller file size compared to the images with JPG format. The HEIC format is very efficient option for iPhone users to store photos with saving storage space on your device.
The HEIC supports 16-bit color capture instead of 8-bit, You will get better pictures and use less space. But there is one drawback of HEIC format i.e. it works flawlessly only on Apple ecosystem. If you also have Windows and Android phones, then you need JPG format images. So here are some easy methods through which you can easily convert images the HEIC to JPG format.
Convert HEIC to JPG on iPhone using Camera App
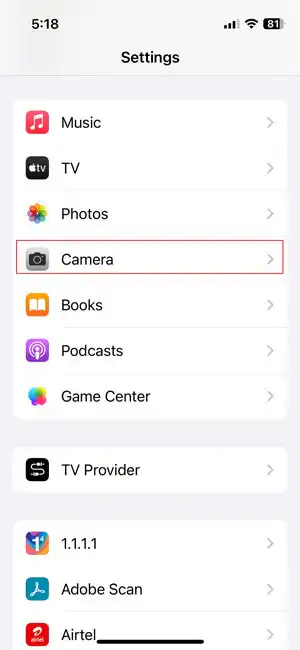
- Open the settings on your iPhone.
- Find and tap on the Camera App.
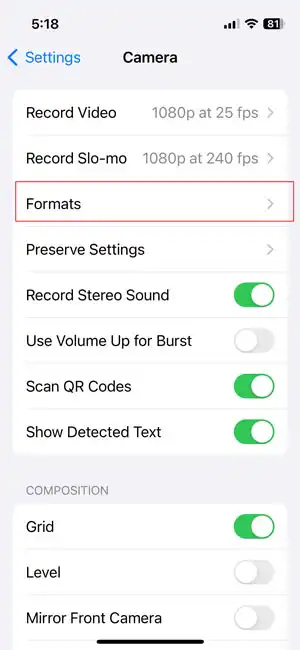
- Now you will see a list of options; select Formats.
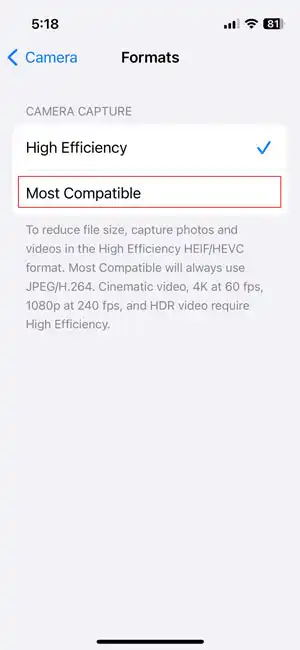
- After that, you will see two formats, i.e. High Efficiency and Most Compatible. Select Most Compatible to save the photos in JPG format.
Convert HEIC to JPG on iPhone using Files App
- Open Photos and find the photo you wish to convert to JPG format.
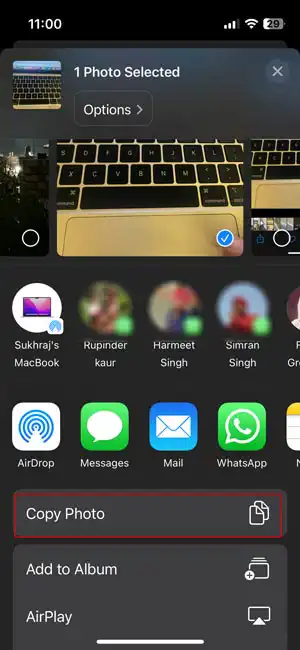
- Tap on the Share option and copy that photo.
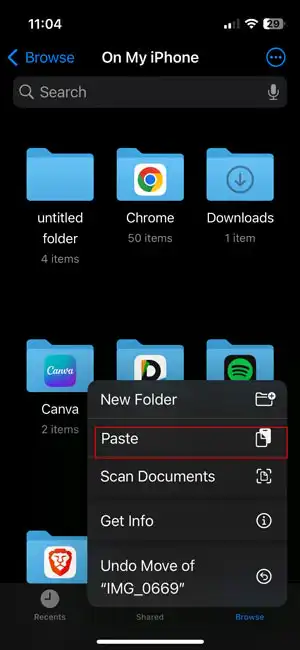
- Now open the Files app on your iPhone and tap “On My iPhone“.
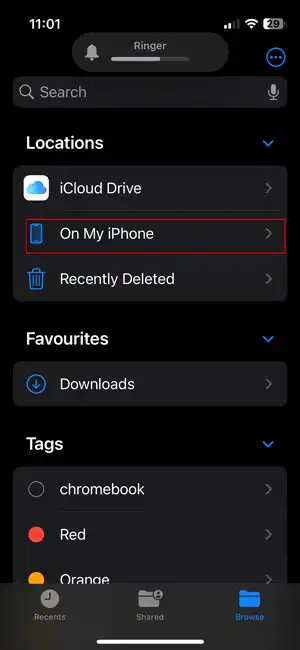
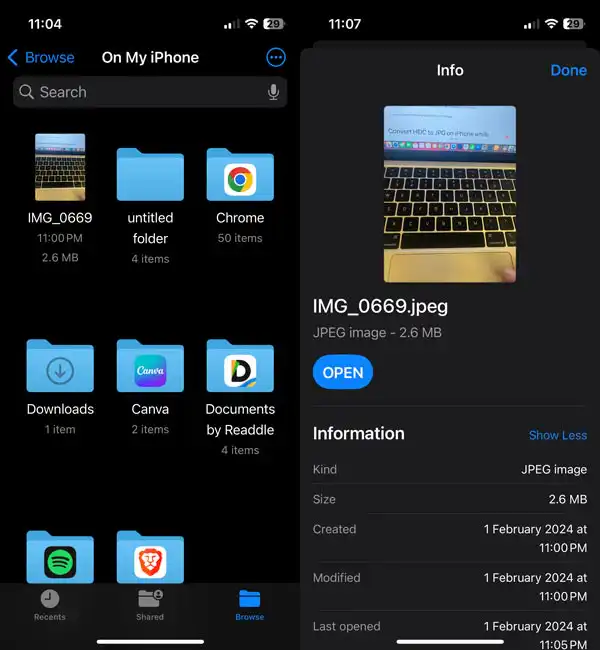
- Now long-press in the open area and paste the photo, and it will automatically be converted to JPG format.
- You can share this image or save it to the Photos app. Enjoy!
Convert HEIC to JPG on iPhone while transferring to Mac or PC
1. Open the Settings app on your iPhone.
2. Tap the Photos app.
3. In the “Transfer to Mac Or PC” section, tap Automatic.
After selecting the Automatic option, you can save space on your device with HEIC but automatically convert images to JPG when you transfer them to your computer.
Read More on iPhone