

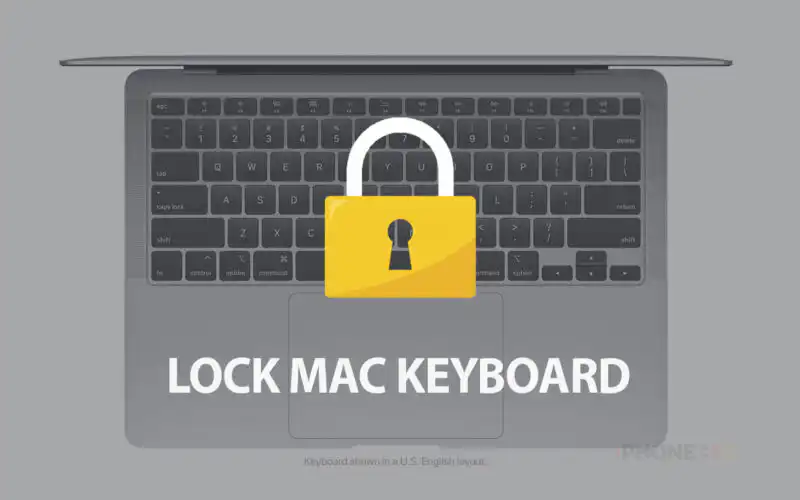
Locking your Mac’s keyboard is very useful when you have kids and pets in the house. Sometimes your important work gets destroyed. You can stop this thing by lock your Mac keyboard. While macOS doesn’t include a built-in option to lock just the keyboard without affecting the rest of the system. You can only Lock the screen of your Mac, to Lock a Mac keyboard you have to download a third party apps.
We have described in easy steps below; just follow the steps to Lock your MacBook keyboard.
Lock Mac Keyboard using Third-Party App
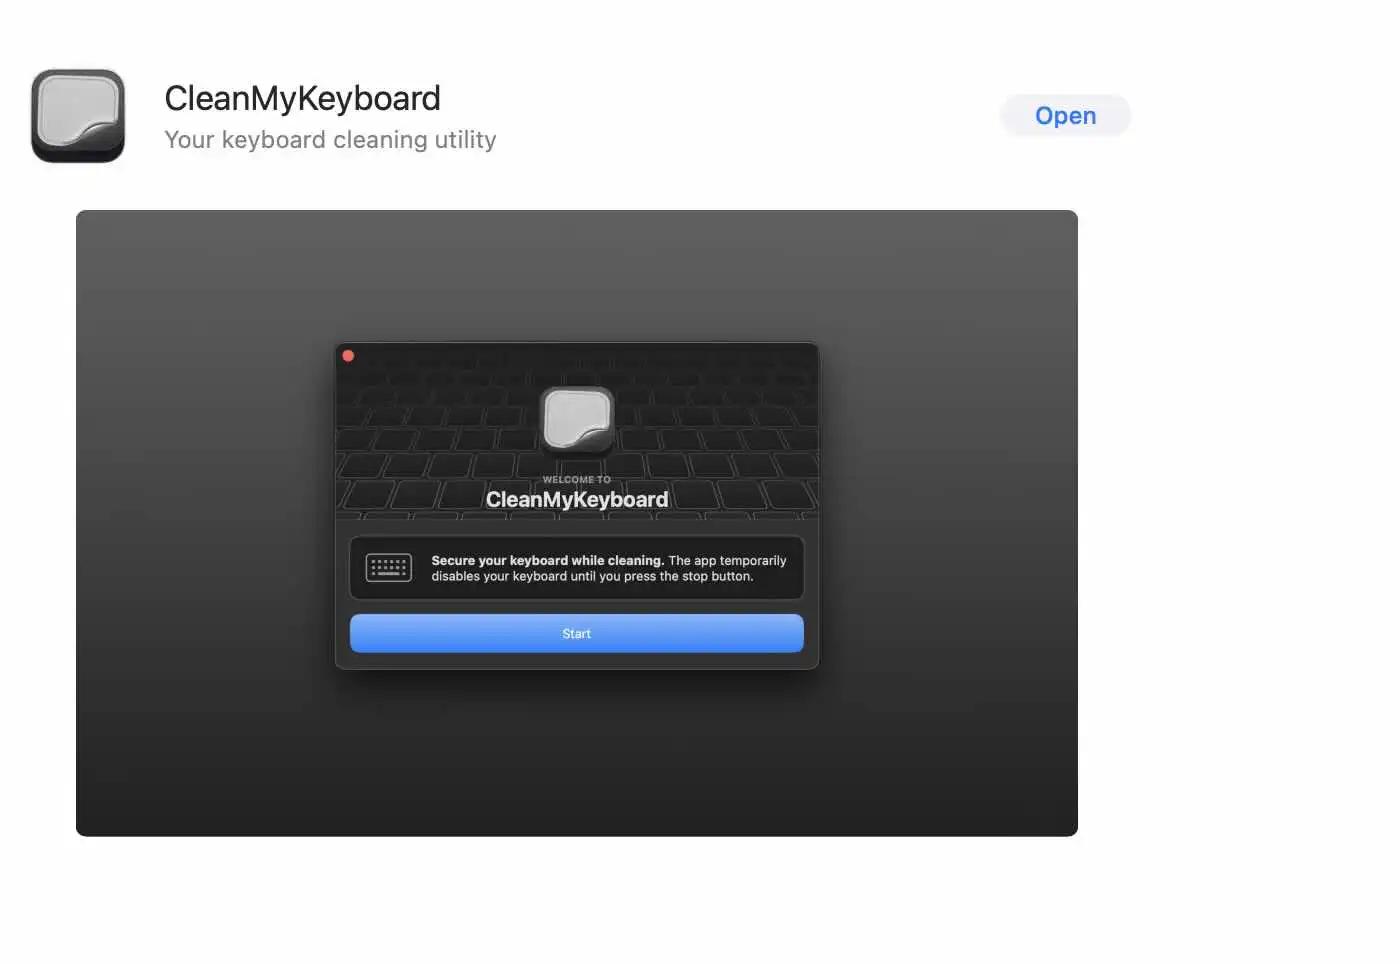
To lock the keys of a Mac, you need to install a third-party app. There are many such apps like KeyboardClean Tool and CleanMyKeyboard. We are using the CleanMyKeyboard app in this guide.
- Download and install the CleanMyKeyboard app from the Apple App store.
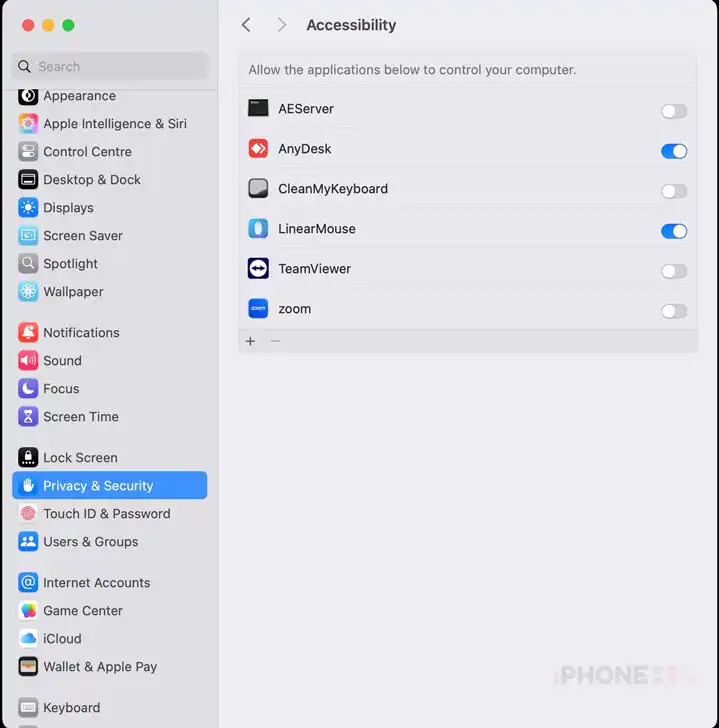
- After the installation process starts, give permission to CleanMyKeyboard in Accessibility options under the Privacy & Security section of Mac.
- After that, the CleanMyKeyboard app will be installed.
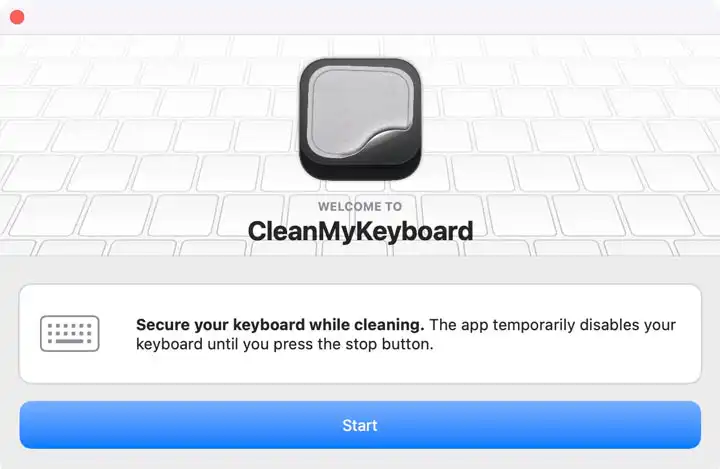
- Now when you want to lock the keys of your Mac device, just open the app and click on the start button.
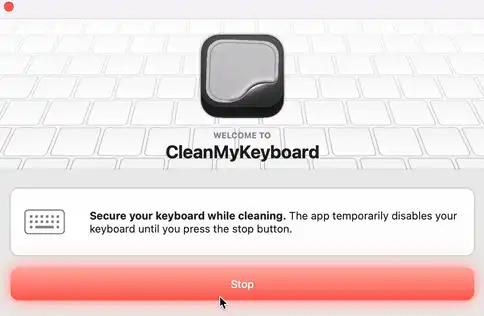
- To unlock the key of your Mac’s keyboard, just click on Stop button.
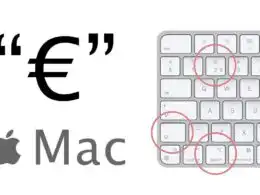
Related | How to type Euro symbol (€) and the Pound symbol (£) on Mac
Lock the screen of your Mac
In between some work, if you have to go somewhere, you can lock your Mac instead of shutting it down. Follow the easy steps below to lock your Mac screen.
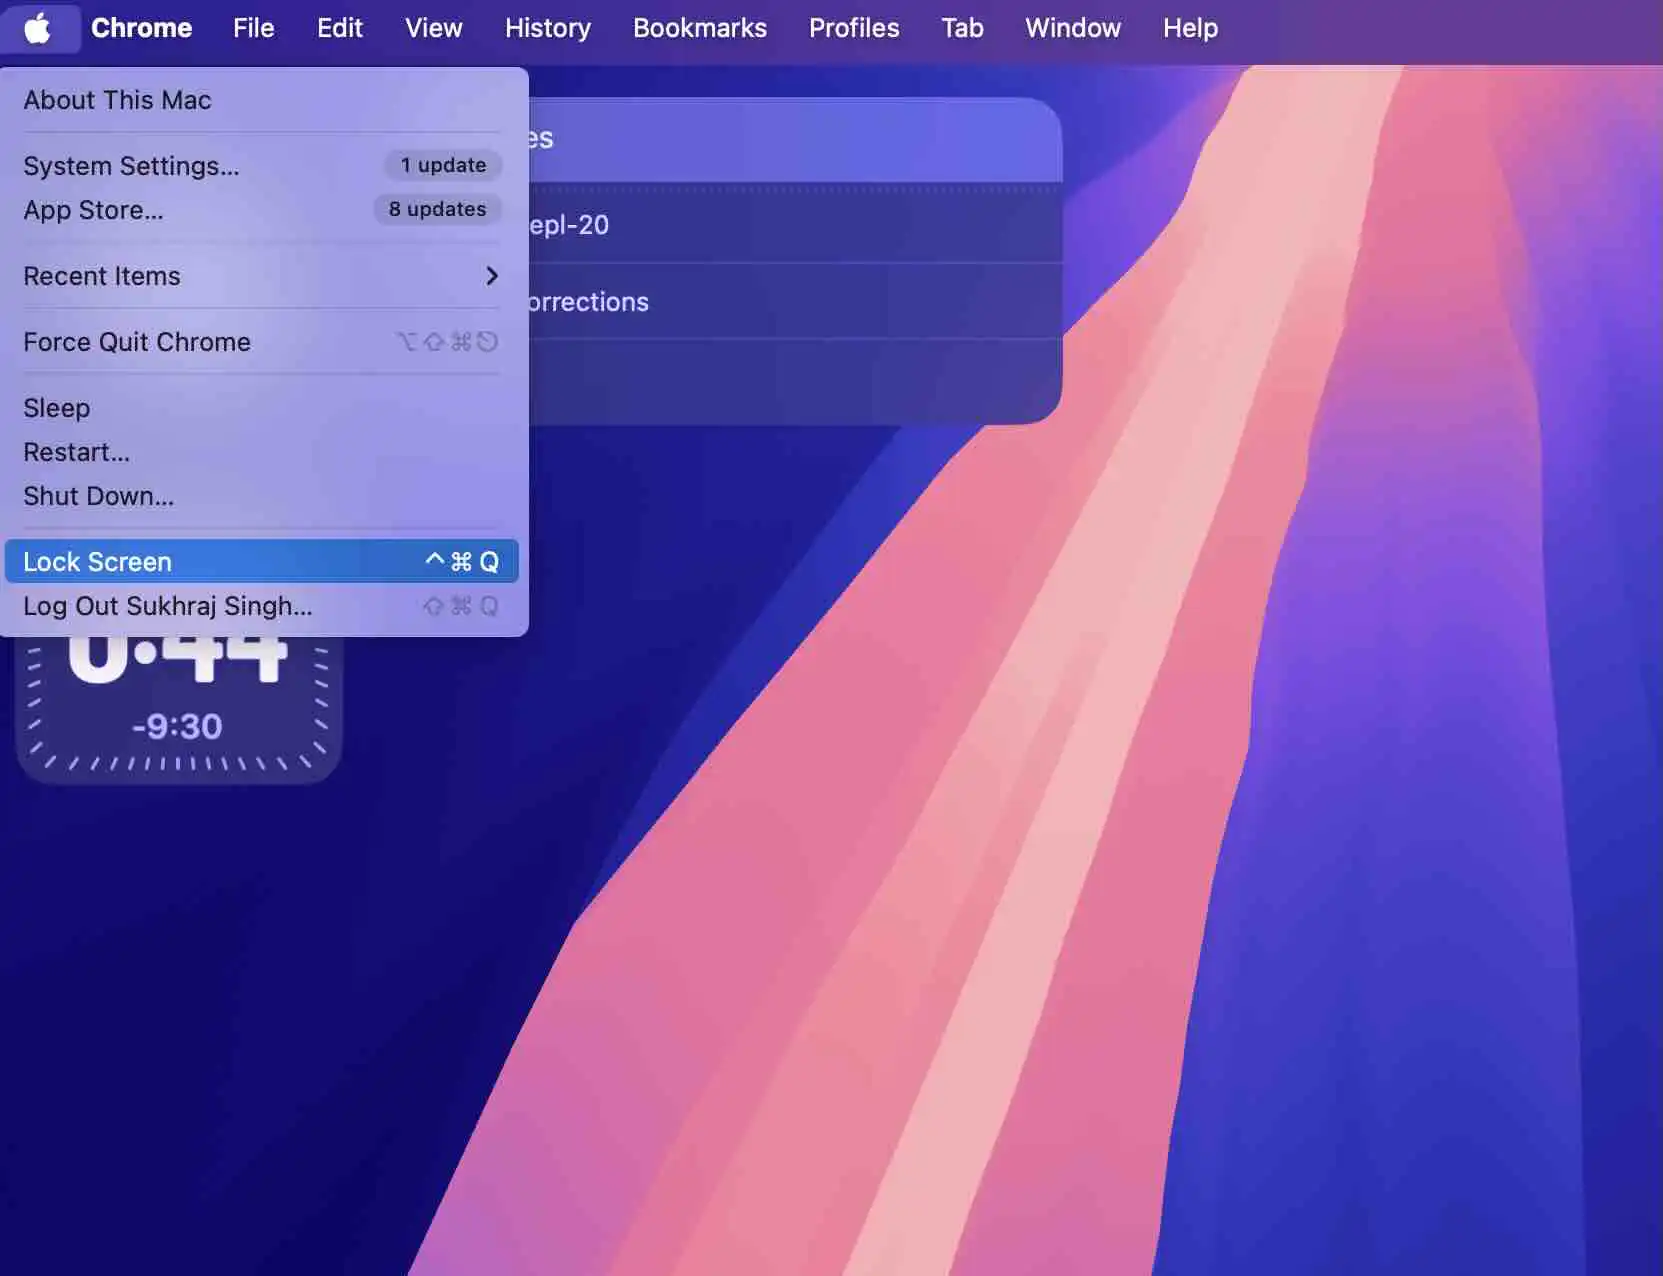
- On your Mac screen, at the top-left corner, click on the Apple icon.
- Now a list of options opens up for you, click on the “Lockscreen” option to lock the Mac screen. Moreover, you can also use a shortcut: press control + command + Q keys simultaneously to lock your screen.
- After that you will see your username and a password field.

If you have any queries about this guide, ask us via comments below; we will try to solve the issue. For more guides on iPhones, iPads, and Macs, stay tuned with us here on The iPhone Hub.


hi